By Stefan Hauser
There are many possibilities for design when building your own skate terrain. A lot depends on your experience, expertise and preference. What we will cover here is concrete do-it-yourself “skatepark” construction. Just like wood ramps and steel rail construction, the more solid background you have in the materials the better off you are.
First do your homework, investigate different obstacles, skateparks or terrain you would like to mimic. Find some good examples, be it a place you have been, a photograph in a magazine, or a video you have seen. Make sure it is something you would like to have and then something you would like to have in another three years. For that matter make it something that you can expand and build onto as your skills and enthusiasm kick in. There is the simple proverb: start small, think large, follow it.
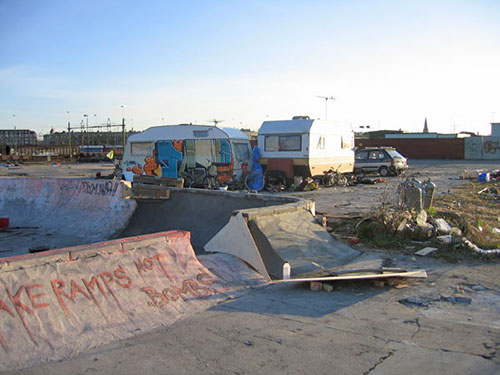
A major consideration to take into account when designing your skate spot is location. The location will ultimately decide the fate of your design and the longevity of your project. The best place to put your project is of course on private land of which you are the owner. This may not always be an option, so you might have to look a little further; be creative. Some major DIY projects are situated under bridges or overpasses throughout the United States. This might be a good place to start your search When acquiring land permission to build your spot, it is best to keep a low profile. You must become aware of the situation, and above all be a good neighbor. This is the best bargaining power you have regardless of where you chose to build. When you have an area in mind, think of something to build that will complement this spot. If there is an existing wall perhaps build up to it; if there is an existing concrete pad, build to meet that.
This brings up a good point, and that is time and money. The best way to save on both is to use an area that already has some sort of skateable surface that you can build onto. This will save you a lot of both time and money. Is there a place you already frequent that could use a facelift or some added features?
Speed, speed, speed. That is what you must keep foremost in mind when designing your layout. Make sure there is plenty of it. Nothing is worse than having to push up hill.
When it comes to the construction of your concrete structure, the best advice I can give is to get some experience with concrete ahead of time or befriend someone who has it. If you can’t find anyone with concrete experience, take some time to practice. Better yet get yourself a job in the concrete trade. The more you know of concrete, the better off you will be. Take a look around at some construction sites and see how they do it. Watch and learn, take time to examine others’ form work. Pay attention to what people are doing when a concrete truck arrives on site. This is very important information to know. Concrete begins to setup (harden) pretty much the minute it is mixed and you will not have time to fool around at the time of the pour. Like I said, it is best to start small. For the form work there are many ways to go, but the most important thing is that you use some transitional guides to help keep your radiuses smooth and clean. The way I make a radius template is by using a stick. Take a measurement from one end of the stick to the desired radius you wish to make. Make a mark on the stick at the according measurement. Now take a nail and drive it through the marked point, securing the stick to a solid object below. Use the arc of the stick to draw the radius. Do this by keeping the pencil secure at the end of the stick and rotating the stick above a piece of plywood.
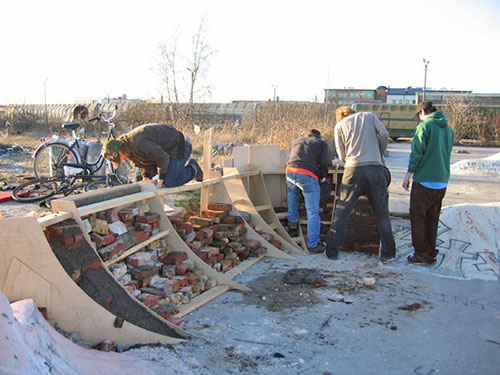
To cut out the radius templates, the easiest method is to use a jig saw, but a number of other wood working tools can be used as well. Construction of your ramps will be built either by digging or by using fill material. Either way, the material (or sub-grade) should be compacted. Retaining walls can be built as necessary. Suitable materials to be used for retainment are stone, brick, concrete, wood or a combination of such. For coping, use any material you desire. The main things to take into account are life expectancy of the material, the grind and ensuring the coping is anchored appropriately. If you are using steel coping, for example, you can weld pieces of rebar about every two feet to the steel coping. These pieces of rebar should be placed in such a way that they will not protrude into the rideable surface, but will be embedded in the concrete when it is poured in place. Another way to fasten coping is by using the same techniques as in wooden ramp construction where you drill holes in the steel and bolt the steel to a wooden two by four placed below the level of the riding surface (concrete).
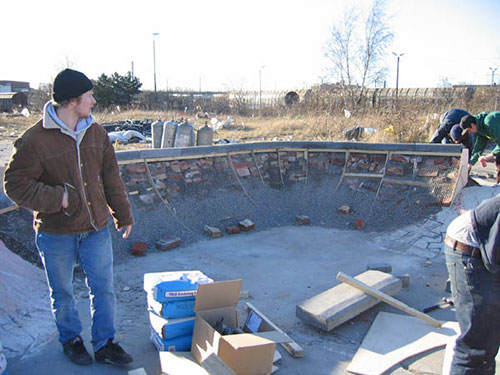
On the technical side of concrete, the forms should be set up in such a way that when poured the concrete has at least a thickness of two inches in all places. It is best to keep your joints so they maintain a similar thickness. When you try to blend your concrete into an existing piece of concrete and the new concrete you have made tampers to nothing in the thin areas, the concrete will break out and you will be left with joints that will need to be patched frequently. For reinforcement and to help keep your concrete up on the wall, try using chicken wire or a similar material.
As for concrete, if you do not know what you are doing, stick with the premix sack-crete. These are bags that contain both cement and aggregate already mixed together. Mix the sack-crete with water using a shovel, either in a wheelbarrow or on a piece of plywood. Add water slowly so that you do not overdo it. The mixed concrete should have a rather dry consistency, but be well mixed. If you overdo it with the water, you can always add more dry sack-crete to stiffen things up.
Keep in mind that wet concrete can and will burn the skin. Use protective gear such as rubber gloves and boots.
To sculpt the concrete go out to a masonry store (or any hardware store) and buy yourself some tools. What you want is an eighteen inch long magnesium float and a twelve to fourteen inch pool trowel. Try these out and see how the work. Generally you use a float when the concrete is still soft to shape the surface and a trowel when the concrete gets harder to smooth the top surface. Just go for it, this is your do-it-yourself touch.
When the concrete has fully hardened to a touch, you can cover the piece with plastic to keep addition moisture from evaporating too fast. The plastic will also keep people detoured from riding the final product. You should try to wait a week before you ride the finished product.
When you become adept with things or are on a lucky streak, try to find a way to get some concrete off a ready mix truck. Perhaps you know someone nearby who has a concrete pour going on, take the extra concrete and use it. Remember, timing is everything and you will want to use this mud (wet concrete) right away. Better yet, is scoring a friend in the concrete business. Perhaps there is someone you already know, be it a contractor or supplier. See if they can be of assistance in your needs. With ready mix from a truck(concrete that is pre mixed and has water added), your skate spot will start to really expand and with about the same effort. Good luck and just keep practicing. Patience is a virtue.
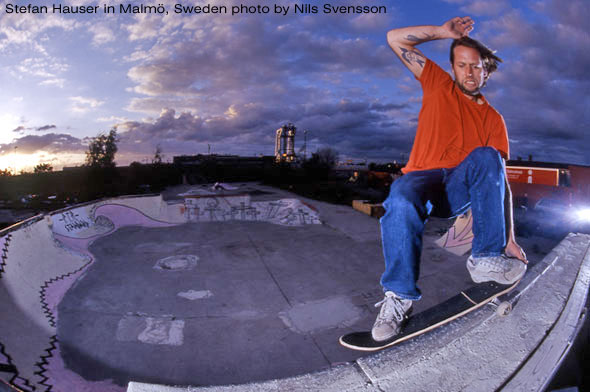
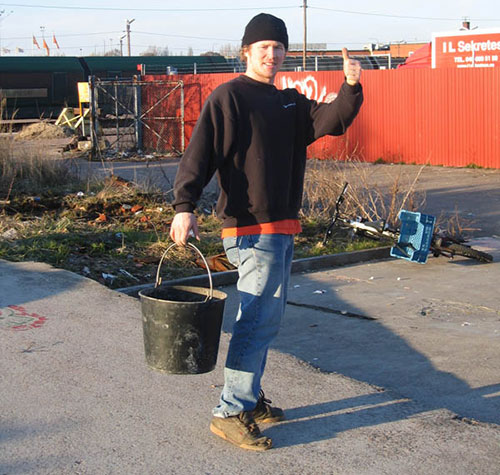
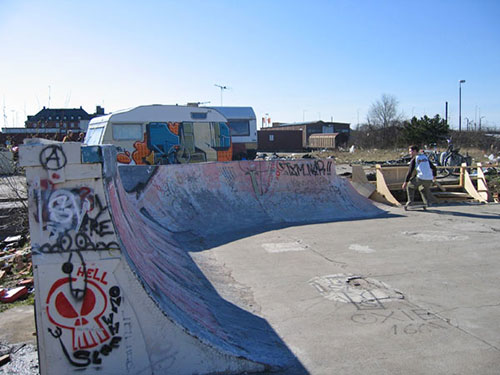
Stefan Hauser is part of the original Dreamland crew that brought you such skatepark gems as Burnside, Lincoln City, Newberg, and Aumsville. Stefan is now owns and operates Placed to Ride, Inc. PTR will break ground on a new park in Sweden in May of 2005. You can find out more about him by on the PTR web site. He is also mentioned a few times and quoted in David Hamm’s book Scarred For Life. Photos used in this feature are copyrighted by Stefan Hauser and Placed to Ride Inc, with the possible exception of the one at the right, which was taken by Nils Svensson. The images are from a trip Stefan took to Sweden during the Summer of 2004 in which he helped a Swedish crew add some new concrete to an existing park. There are some more pictures here. Our thanks to Stefan! Placed to Ride!

Placed To Ride, inc.
PO Box 887
Seaside, Oregon 97138
U.S.A.
tel. (503) 440-4819
0 comments.